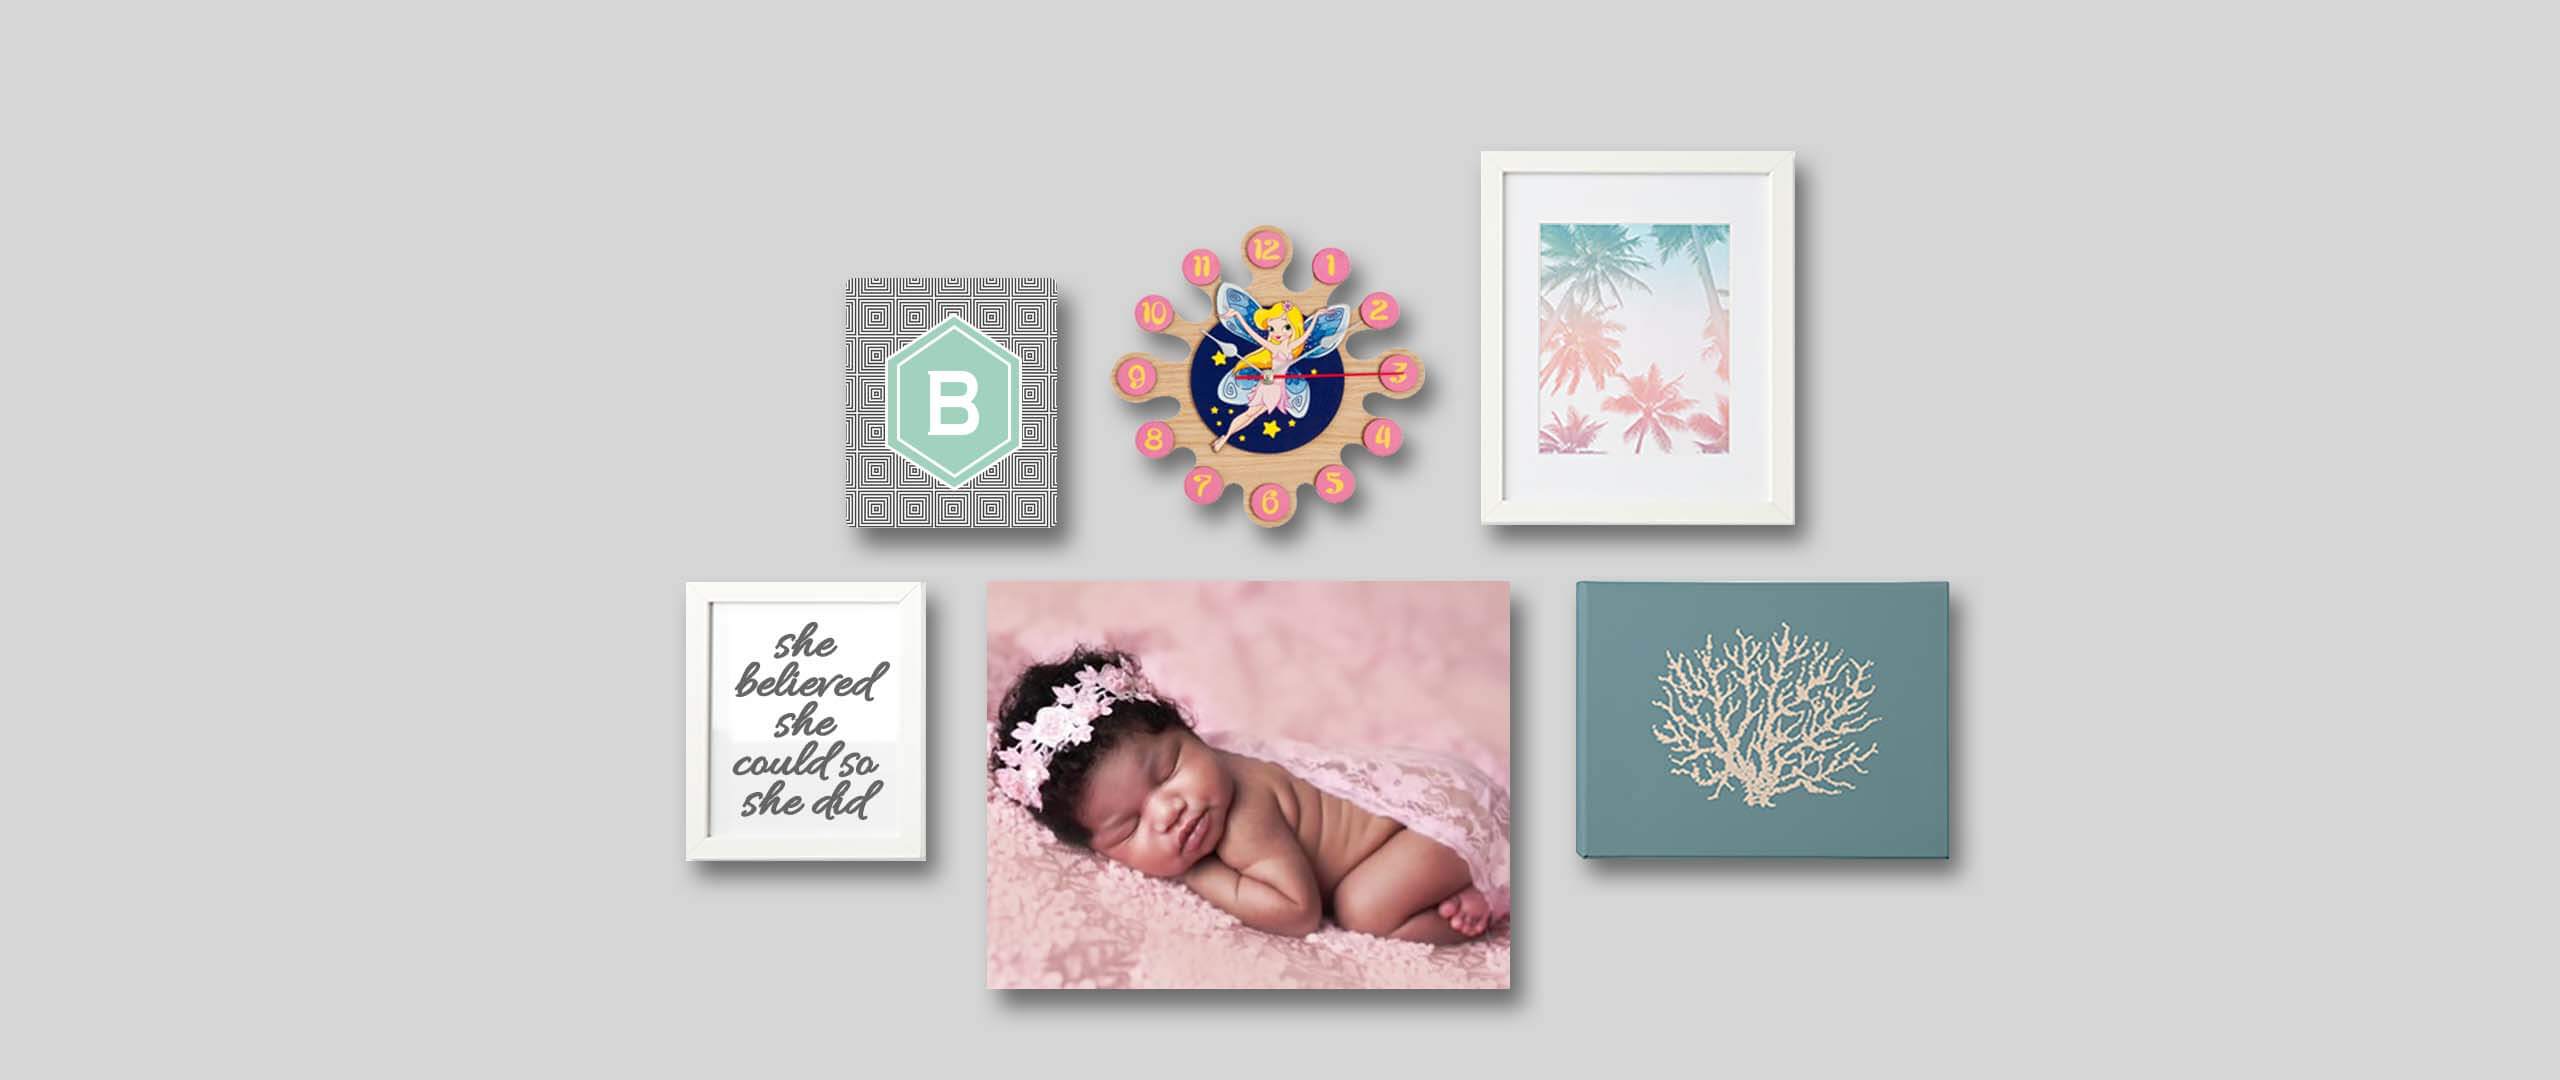
So, you’ve purchased beautiful wall art and printed your favorite photos. Now, you just need to figure out how to create your mixed media gallery wall. In the world of home decor, mixed media gallery walls are the new trend.
In fact, if you peruse Pinterest for any amount of time, you’ll see a plethora of homes with walls. And these walls are covered with decorative plates, prints, and even eclectic collections of photos.
You might also see bears or antlers that somehow come together to form a cohesive wall collage. If you’re not artistic, you may feel intimidated by the idea of creating your own wall gallery. But really, it’s not that difficult to pull off. Here are a few tips to put together a mixed media gallery wall that looks amazing.
Shop Trending Categories
Creating A Mixed Media Gallery Wall
Obviously, you’re not going to want to do this by trial and error. If you do, you could end up with unnecessary holes in our walls. So, here are a few tips to help you create the ideal gallery wall.
First, you need the following tools and supplies:
Frame Hangers
Nails
Pencil
Ruler
Leveler
Hammer
Next, follow the below instructions to begin your gallery wall project.
1. Map Out Your Grid Arrangement
You should first measure all of your artwork, canvases and posters you plan to use. Then, mock them up digitally in a configuration that you like. If you don’t want to use a computer for your mock up, there are other methods. For instance, arrangement the pieces on the floor to see what they look like. Or, draw the design on a piece of paper.
2. Place Art On The Wall
Place a print or canvas on the wall and decide where you want it. With a pencil, lightly mark the top corners. Then measure and mark the middle point between the corners using a ruler.
Flip your piece over and assess the framing hardware on the back. Not all canvases and frames have the same hanging device. So, you need to make sure that all pieces are aligned. To do so, measure the distance between the hanging hardware and the top of the frame/canvas.
Mark the distance below the middle mark on the wall. This is where you’ll place your nail. For instance, if the distance is 1”, measure and mark 1” below the middle mark you sketched earlier. Secure the nail and hang your pieces. You can also use a frame hanger to provide more support.
3. Hang It!
Use a leveler to ensure all of your media are straight. That’s all there is to it! We hope these tips help you create a masterpiece.
You may also enjoy reading: Choosing Your Custom Unique Business Cards Colors


