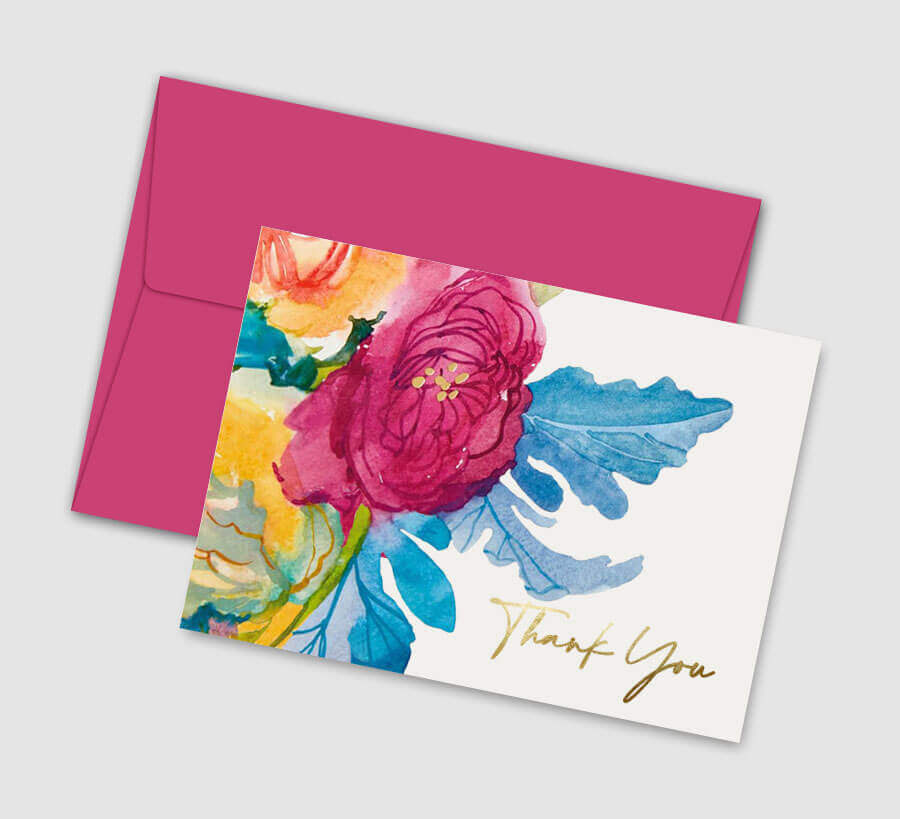
When you make heartwarming photo cards, almost nothing else compares to that. Not only are they personalized gifts, but everyone loves to receive them. You can learn to make photo cards at home in just a few easy steps. Simply choose your favorite photos, pick a theme, personalize it, and print your cards.
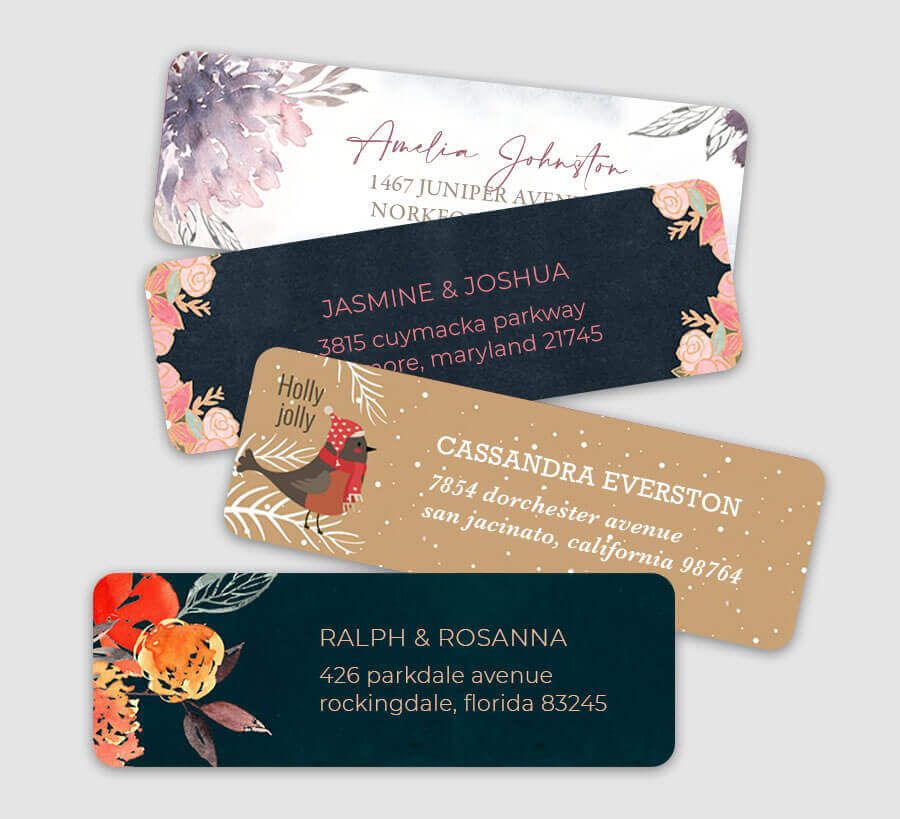
Ideal for any season and accomplishment, making photo cards online shows the recipient you’re thinking of them. From unique celebratory cards to wedding thank you cards, the options are endless. And with so many options, you’ll definitely find a theme that best suits your style. Don’t forget to include matching address labels to complete the package. Check out our photo card ideas below for inspiration when you make your own photo cards.
Shop Trending Categories
How To Make Your Own Photo Cards Online
When you design your photo card at home, it’s a great solo activity or share with the whole family. Options to create custom photo cards range from just because to baby show invitations, holiday cards, and much more.
Let’s get started with the 4 easy steps to design your card.
01. Upload Your Favorite Photos
The most exciting step of this process is choosing your favorite photos. You can now relive your favorite memories. And you can share as many photos as you like with your recipients. Make sure to keep your theme in mind as you go. And also the orientation of the photos.
For best results, use the recommended specifications for uploading images.
02. Choose A Card Theme
The best cards with photos are organized into a theme and showcases your personality. First, go to the category of the card you’d like to create. For example, greeting cards, save the dates, graduation announcements, etc.
Next, to choose your look, browse through the themes using the card templates provided. Do you prefer nature, florals, glitter, animals, or glam? Generally speaking, your personal style and preference will guide you in the decided direction of your cards. Then, you can choose your favorite layout. Also, you can upload your own design if you prefer to create your own theme.
03. Personalize
You’ll also need to be aware of your trim options. For instance, scalloped, regular, ticket, bracket, or rounded. There’s also the option to choose folder cards or flat design. Don’t forget to write a heartwarming greeting. It adds additional personalization to your cards.
04. Order Your Cards
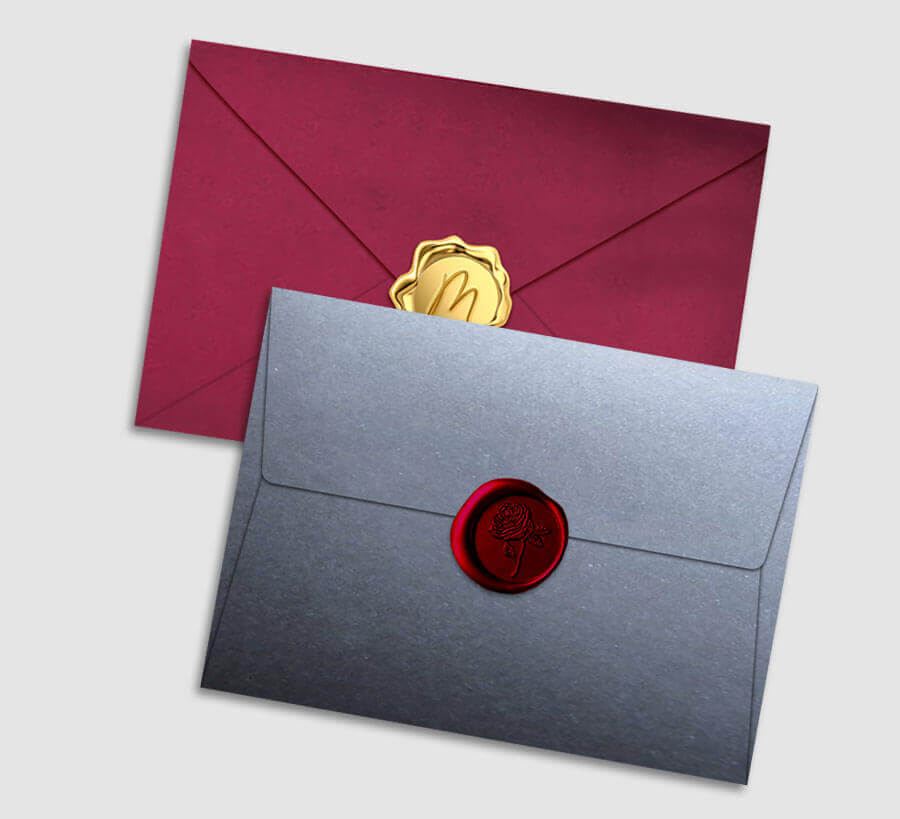
After you’ve completed the above steps, including previewing it for accuracy, it’s time to place your order. Decide the number of people you’re sending it to so that you can order the ample supply including envelopes.


